For all Streaming Boxes in VW Golf 4 with radio MFD 1 - retrofit USB stick, Bluetooth interface
These sample instructions describe how you can install USB and Bluetooth (here: neXus v3 Pro) in a VW Golf 4 to a CD changer interface. You can also use these instructions to install all Streaming Boxes.
Described as an example for the radio MFD 1 - can be used in a comparable way with all other radio systems for the Golf (e.g. Beta 5, Gamma 5, etc.)
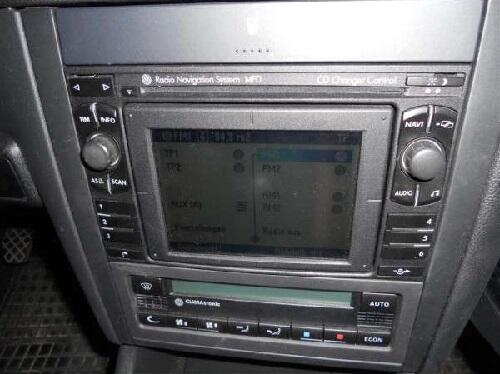
 VW Golf 4 - MFD 1 radio - remove the radio
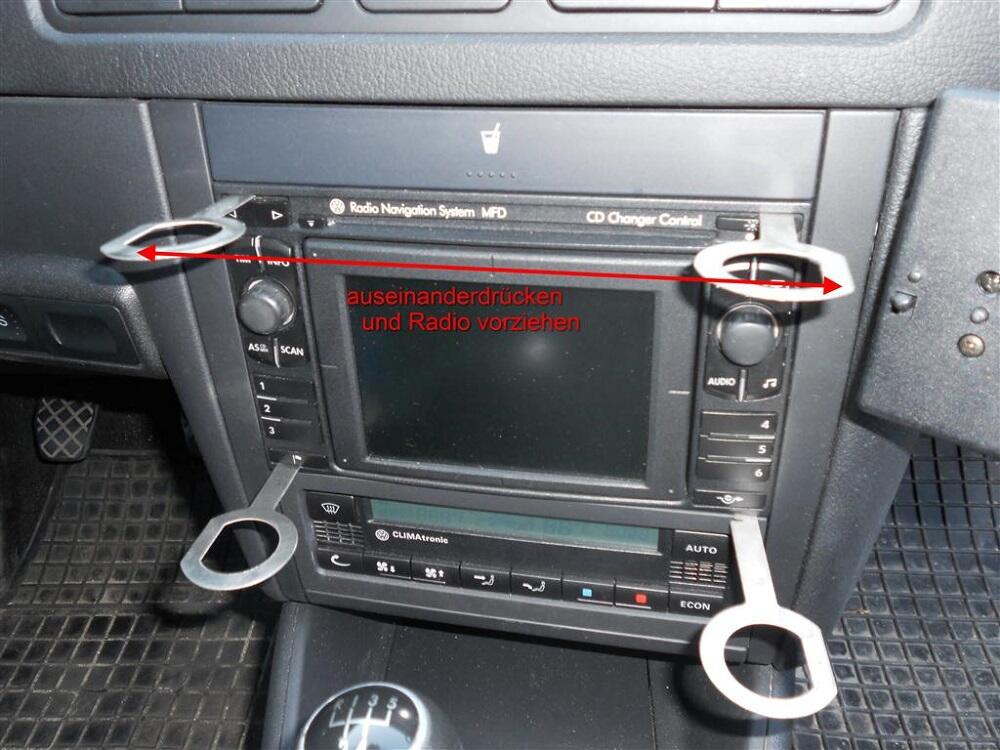
First you have to remove the radio. To do this, the removel tools must be inserted into the 4 slots so that the radio can be pulled out.
Here you can see the positions where the hooks have to be inserted.
 VW Golf 4 - MFD 1 radio - take out removal tools
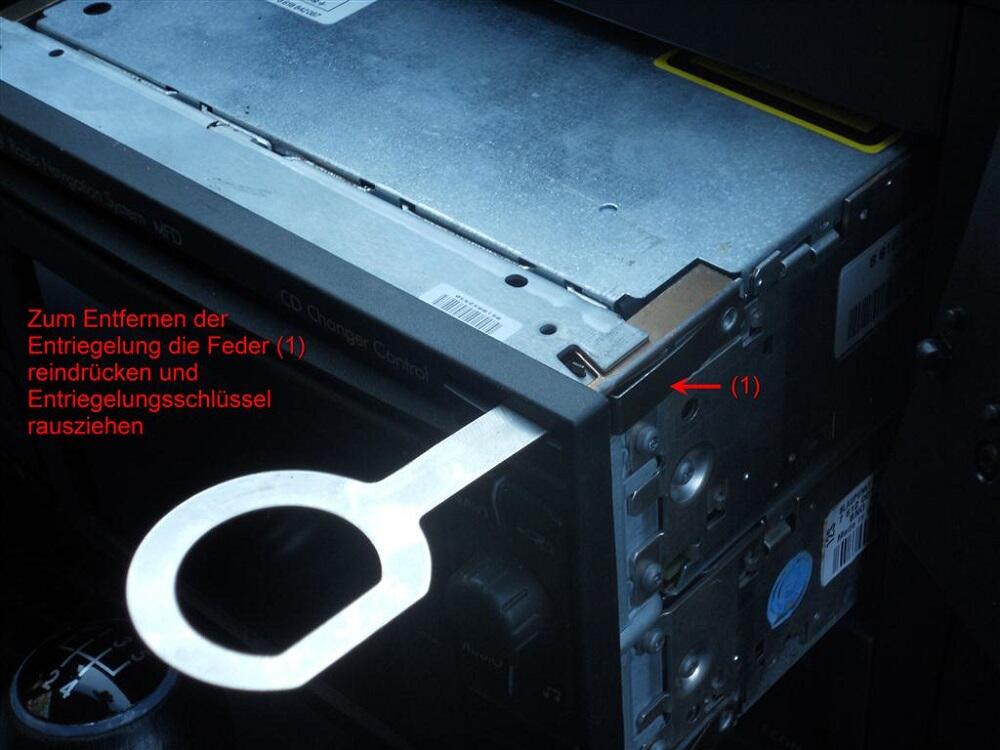
 VW Golf 4 - MFD 1 radio - Lay cables (1)
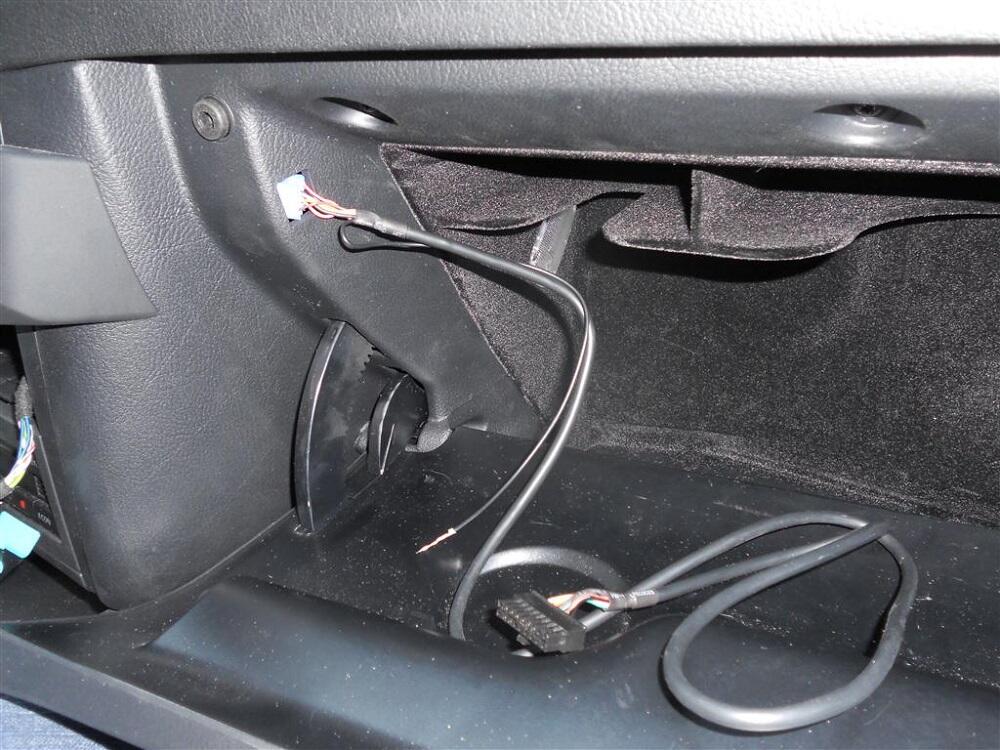
You can now lead the cable from the glove compartment into the radio slot.
This is very easy with the Golf 4, as there is already an opening.

You can lead the connection cable through this opening and pull it out in the radio slot.
 VW Golf 4 - MFD 1 radio - Lay cables (2)
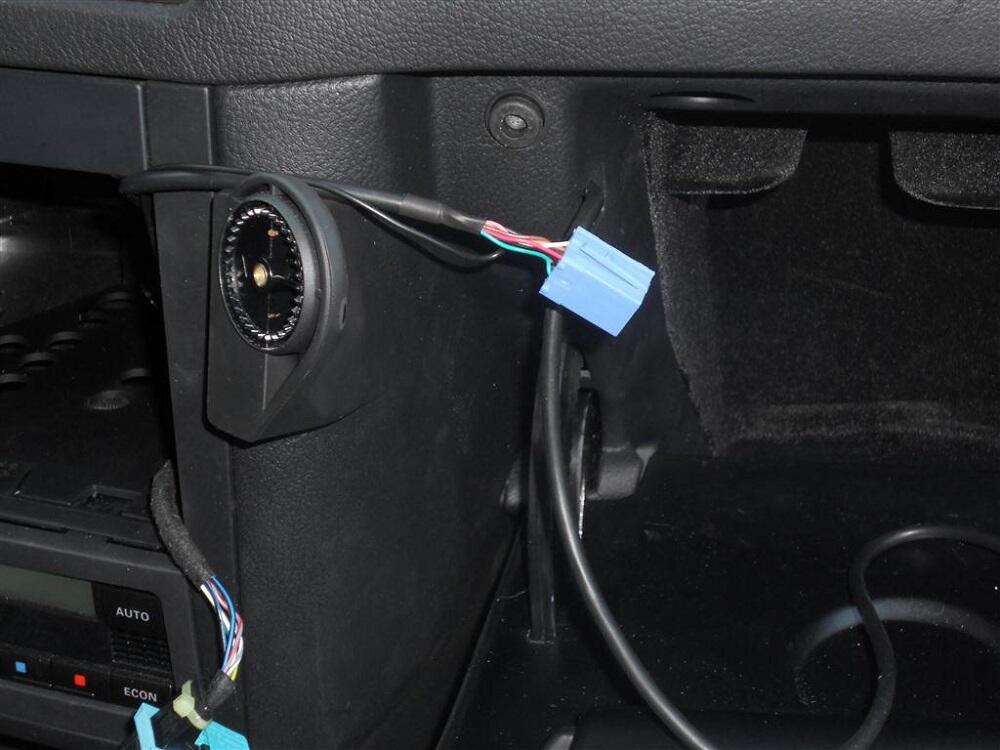
Here you can see how the connection cable was led from the glove compartment into the radio slot.
 VW Golf 4 - MFD 1 radio - connect ground cable

Now it's about the actual connection. Insert the blue connector into the radio and connect the ground cable to the radio housing.
 VW Golf 4 - MFD 1 radio - install radio

The connection to the radio is now complete. Before you finally reinstall everything, you should check the functions of the neXus v3 Pro.
 VW Golf 4 - MFD 1 radio - connect interface

The neXus v3 Pro can now be connected to the connection cable in the glove compartment.
The microphone supplied for the hands-free system can now be placed in a position of your choice.
Information on equipping the USB stick or SD card with MP3 files can be found in the documentation and instructions.
ATTENTION: Before installing the radio, please test all functions of the interface / streaming box. If everything works, you can go to complete the assembly.
These installation example instructions are only intended as a model for the installation mentioned. In principle, no liability is accepted.
Errors or problems of any kind cannot be ruled out. We are happy to be at your disposal during the installation. faq@usb-nachruesten.de
