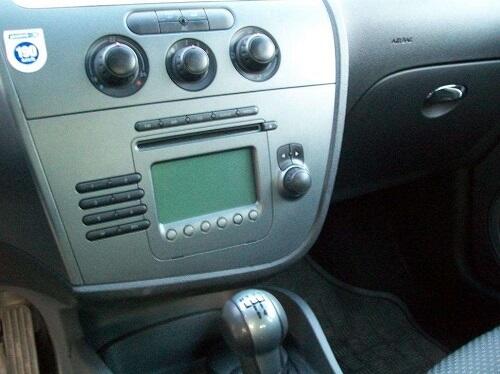
Seat Leon (2005) with CD1 / CD2 / CD3 radio - retrofit iPhone and AUX interface
Example for installing an iPhone interface (with an additional AUX connection) in a Seat Leon - Year 2005.
Objective: Connection and control of the iPhone via the car radio, in addition there should be another connection for an audio source (e.g. for connecting an MP3 player) in the glove compartment. The connection for the iPhone should be in the area of the ashtray.
Connection and control of the iPhone via the car radio; there should also be another connection for an audio source (e.g. for connecting an MP3 player) in the glove compartment. The connection for the iPhone should be in the area of the ashtray.
Additionally required tools: 4 steel or aluminum strips with a width of about 10 mm, a length of about 100 mm and a thickness of about 0.7 mm to release the radio from its anchorage. A T15 and a T25 Torx screwdriver are also required.

 Seat Leon - radio CD1/CD2/CD3 - remove the radio

Snapp in the removal tools in the slots provided and carefully pull the radio out.
 Seat Leon - radio CD1/CD2/CD3 - connect the interface

Insert the connection plug of the interface (white plug, arrow 2) into the connection socket provided and attach the ground cable (arrow 1) to a housing screw with its eyelet and a small washer.
 Seat Leon - radio CD1/CD2/CD3 - Lay the iPhone and AUX cables


Now the top 7 screws (1) of the glove box have to be removed in order to pull it out. On the lower side of the compartment there are also 2 screws that must be removed.

The AUX and iPhone connection cables can now be layed from the direction of the radio slot through the opening in the glove compartment. The iPhone cable is laid directly through a small opening in the footwell and, as indicated, along the edge up to the ashtray.

Now guide the AUX connection cable through the opening on the top of the glove compartment.

Push back the glove compartment and screw it on in reverse order.
Then reinsert the radio into the opening until it clicks into place. The interface is activated by pressing the "CD" button.
ATTENTION: Before installing the radio, please test all functions of the interface / streaming box. If everything works, you can go to complete the assembly.
These installation example instructions are only intended as a model for the installation mentioned. In principle, no liability is accepted.
Errors or problems of any kind cannot be ruled out. We are happy to be at your disposal during the installation. faq@usb-nachruesten.de
