
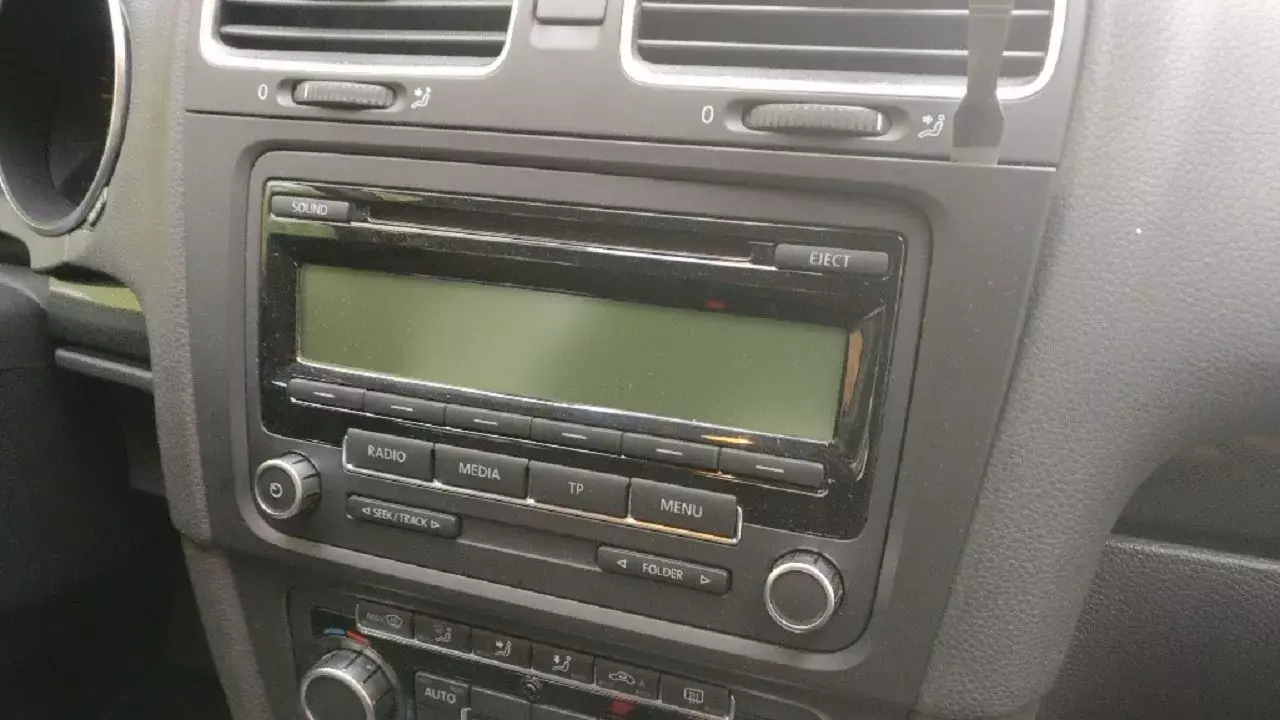
VW Golf 6 (2009) Radio RCD 310 - retrofit Bluetooth streaming, hands-free kit and USB adapter
These instructions describe an example of how you can retrofit the Streaming Box 1701 in a Golf 6. With a radio RCD 310. The functions Bluetooth streaming, hands-free system and USB interface are retrofitted. You can also use these instructions to install other Streaming Boxes, such as the Streaming Box 1201 or the Streaming Box 1102.
These instructions can also serve as a template for retrofitting other radio models, e.g. RCD 210, RNS 300, RNS 310, MFD 2, etc.
 VW Golf 6 - RCD 310 radio - Remove the cover around the radio
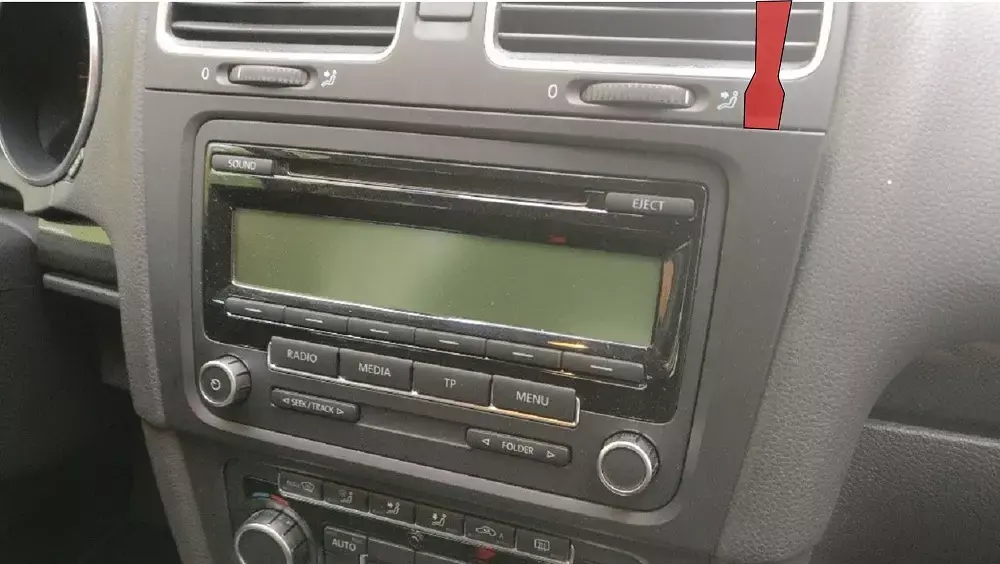
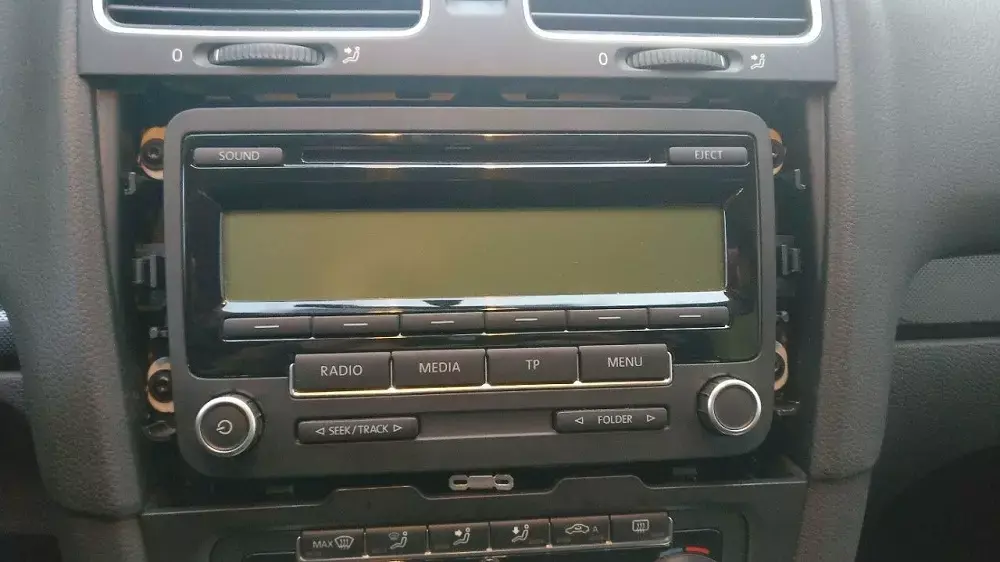
First, the cover that sits around the radio must be carefully pried off. This is only snapped. The best way to do this is with so-called decorative strip wedges (see accessories area in the shop) so that the panel is not scratched or damaged.
 VW Golf 6 - RCD 310 radio - remove the radio
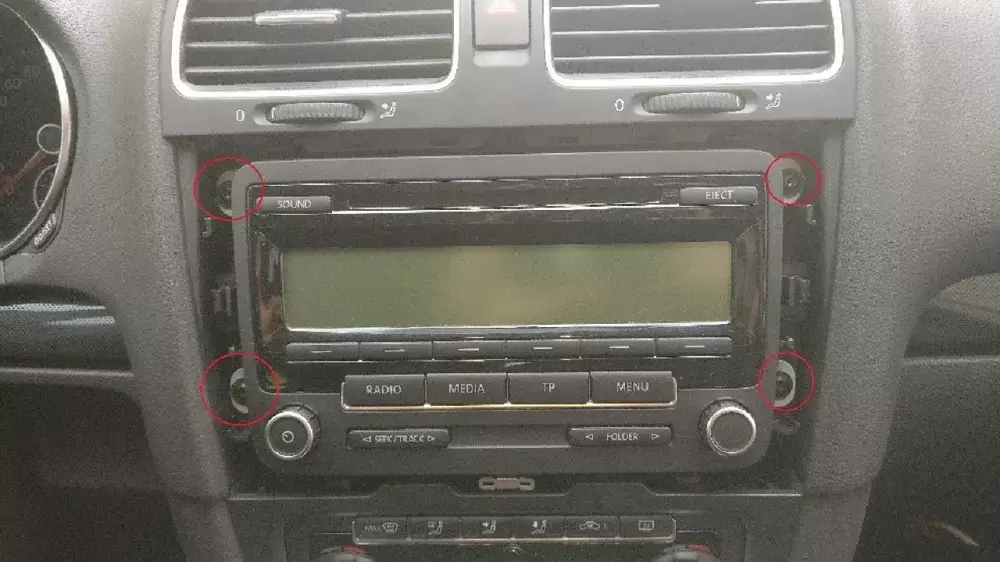
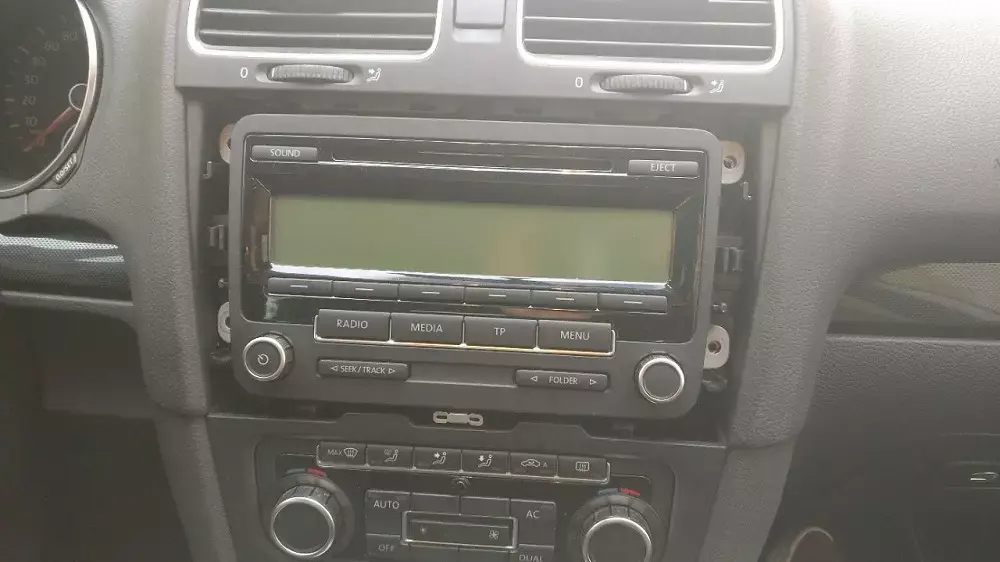
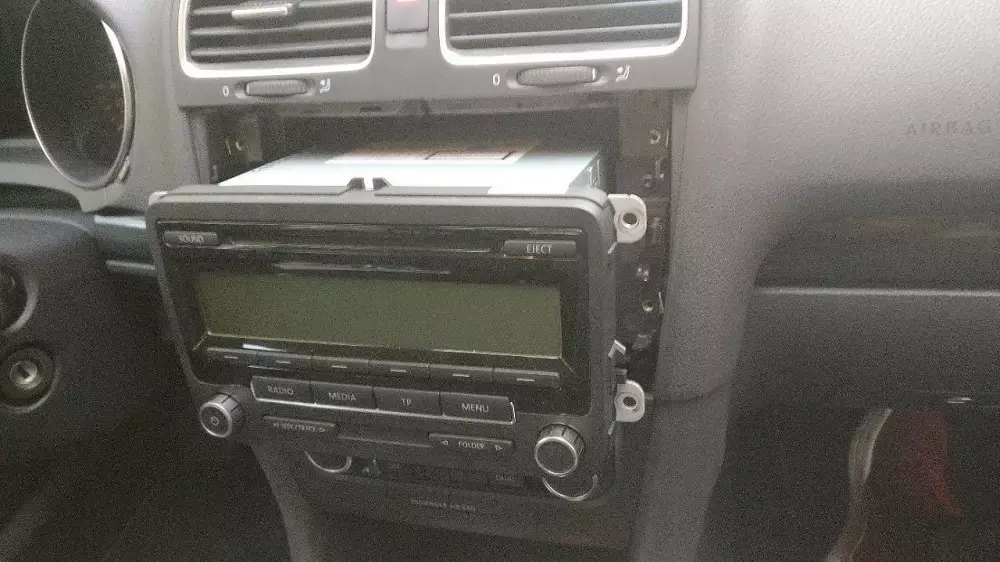
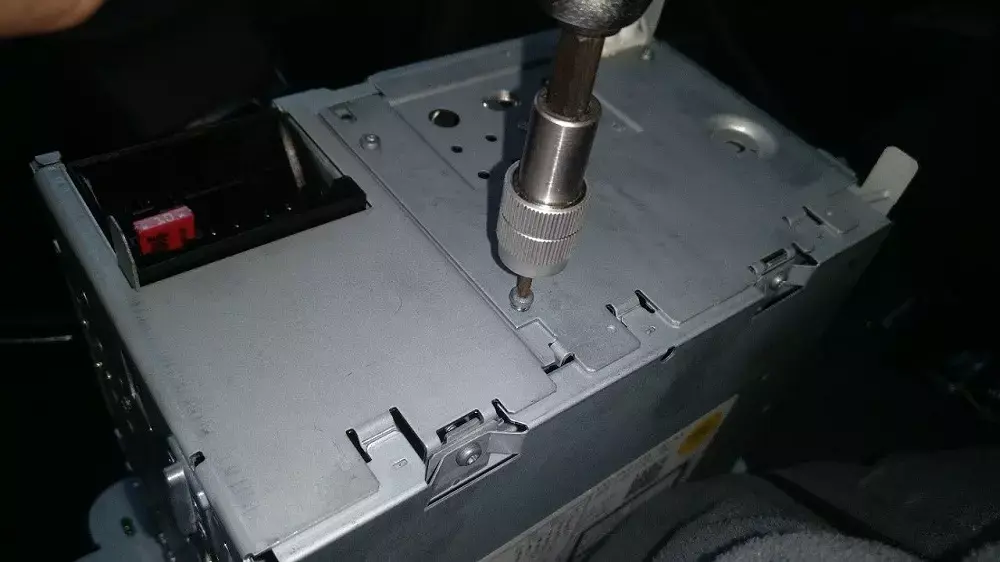
You will now find 4 screws (see markings). If you loosen these 4 screws, you can pull the radio forwards out of the radio slot.
 VW Golf 6 - RCD 310 radio - Loosen plug

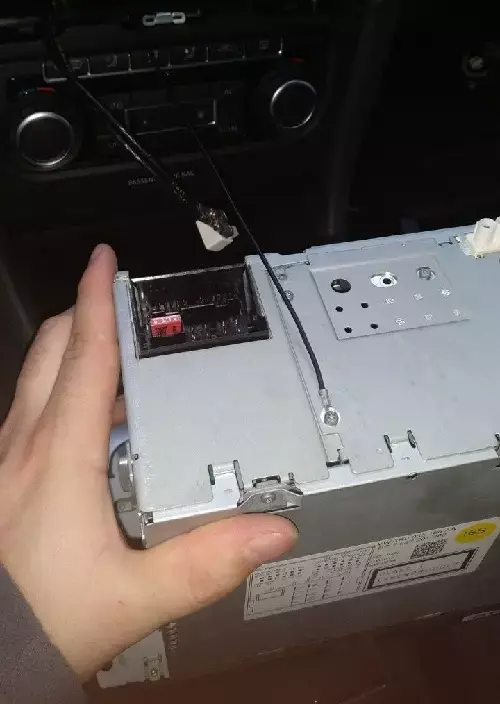
The black bracket on the combined Quadlock connector must be pushed up so that you can release the connector.
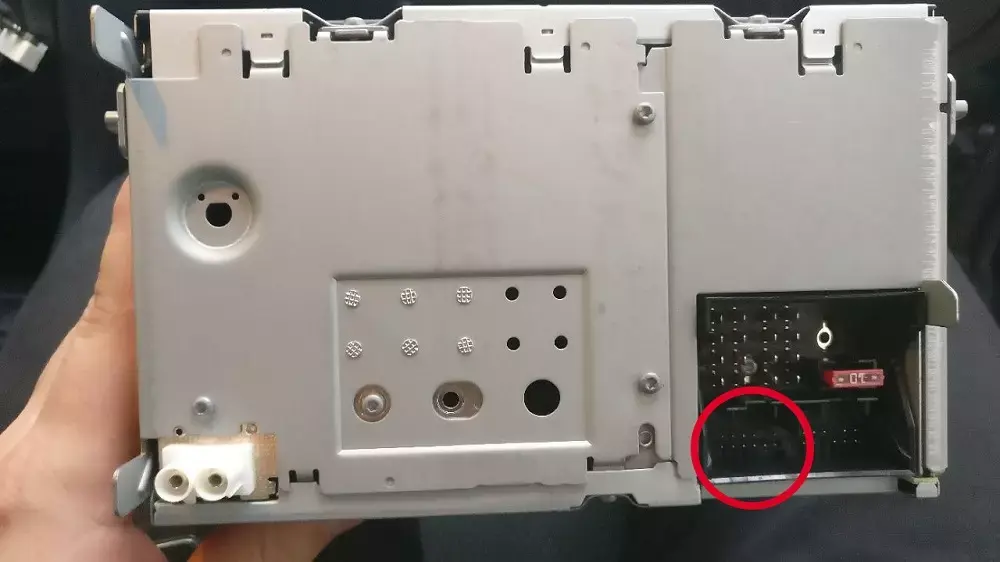
This is the back of the radio. The slot marked at the bottom right is used for the interface connector.
 VW Golf 6 - RCD 310 radio - cables and microphone embarrassed
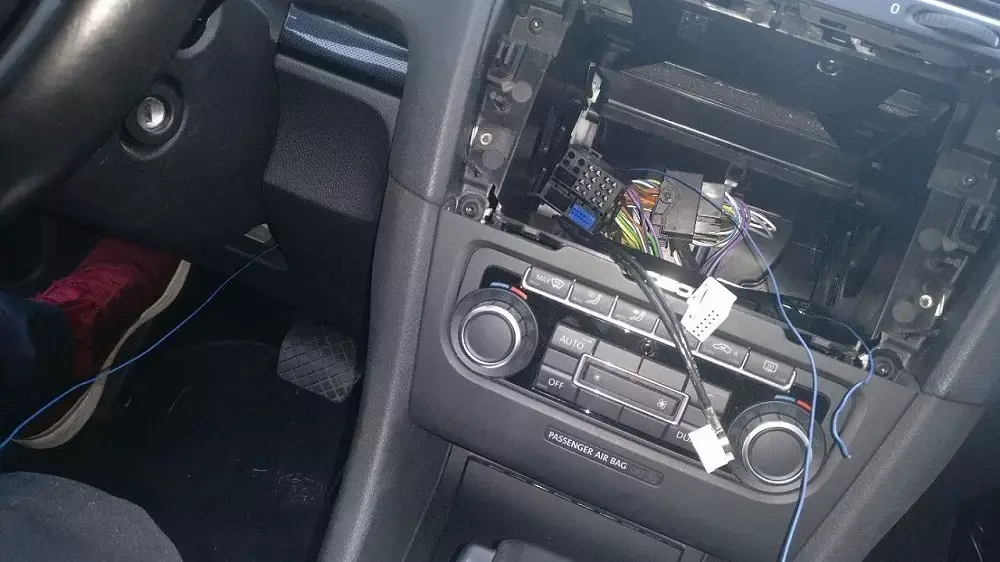
To lay the cables (especially for the microphone cable), a wire is available with which you can simply pull the cables behind the panels (blue in the photo and in the following photo). This wire can be led from the glove compartment into the radio slot. The interface cable can then be pulled very easily in this way.
In order to place the microphone e.g. for the steering column cover, we also use a blue wire here. The microphone cable can then be attached to the wire and thus pulled behind the panels without much effort.

The microphone can then be led out below or to the side of the steering column trim.
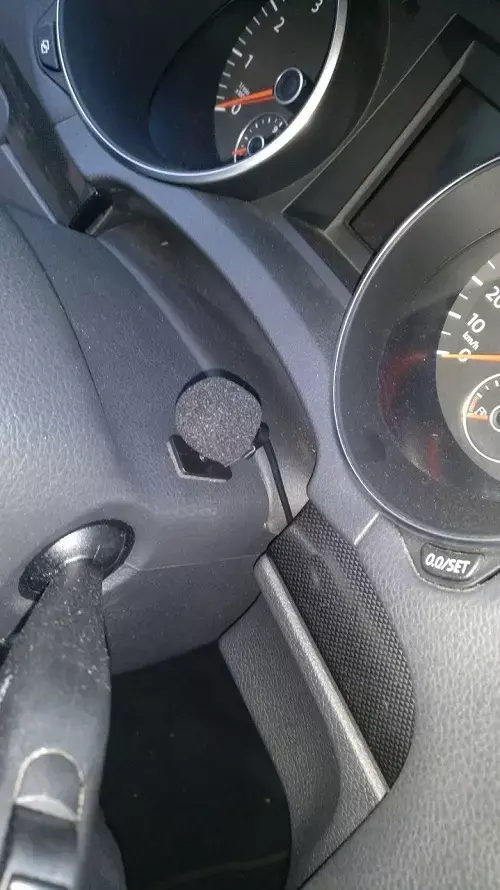
The microphone can now be glued to the steering column trim. Alternatively, you can of course place the microphone in other places (e.g. A-pillar or ceiling light).
 VW Golf 6 - RCD 310 radio - connect the Streaming Box
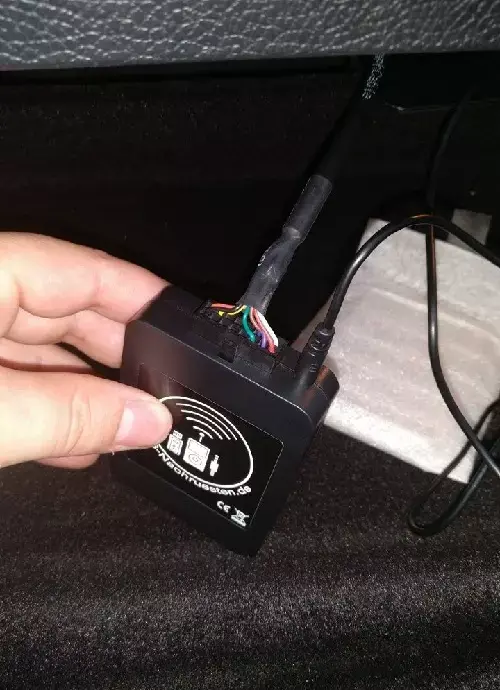
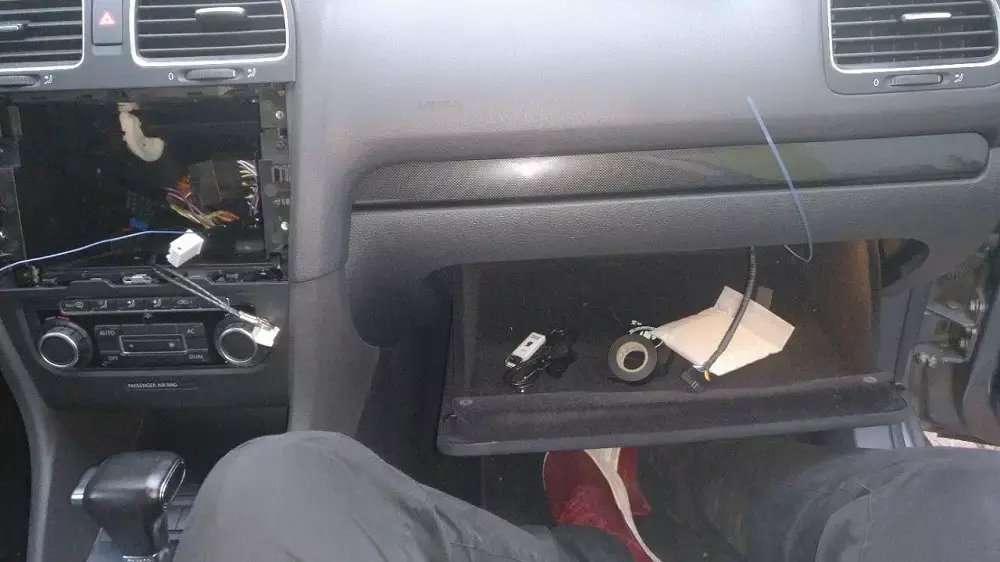
The interface can now be connected to the cable harness and the microphone and positioned in the glove compartment.
So that the circuit of power for the interface is correctly closed, the separate earth cable of the interface must be connected to a screw on the radio housing. To do this, you can easily loosen a screw, place the eyelet underneath and fix the screw again.
Here you can see the attached ground cable.
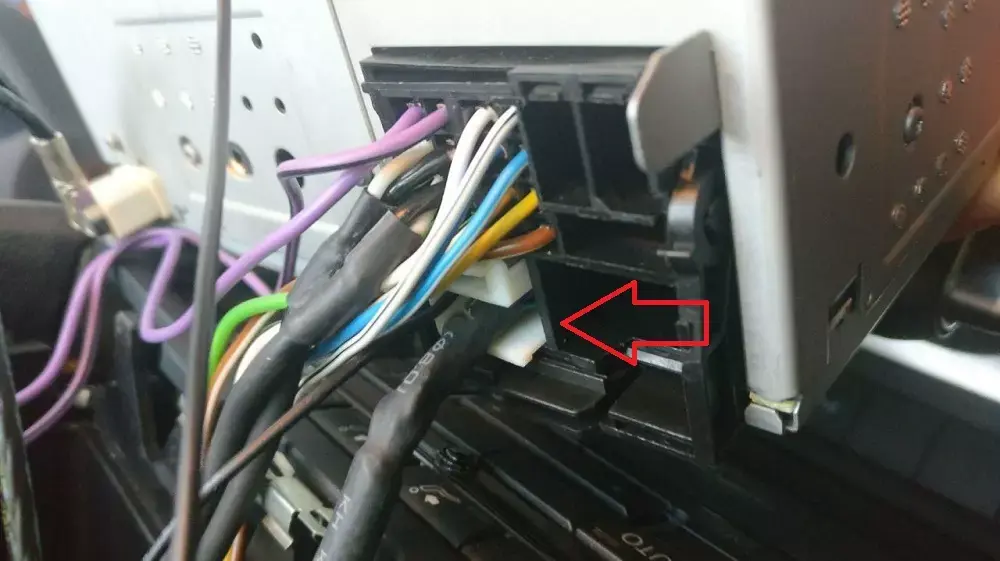
The interface can now be connected to the radio. To do this, the white plug must be inserted into the slot on the rear of the radio described above.
ATTENTION: Before installing the radio, please test all functions of the interface / streaming box. If everything works, you can go to the next step to complete the assembly.
 VW Golf 6 - RCD 310 radio - reinstall the radio
The radio can now be carefully guided back into the radio slot when the radio wiring harness and antenna are reconnected to the radio. When pushing the radio, make sure that no cables are in the way or are squashed.

The interface is now in the glove compartment. If you don't want the cable to come out from above but to the side, you can also drill a hole in the cover of the glove compartment (whichever you prefer).
ATTENTION: Before installing the radio, please test all functions of the interface / streaming box. If everything works, you can go to complete the assembly.
These installation example instructions are only intended as a model for the installation mentioned. In principle, no liability is accepted.
Errors or problems of any kind cannot be ruled out. We are happy to be at your disposal during the installation. faq@usb-nachruesten.de